mirror of
https://github.com/nodemailer/wildduck.git
synced 2025-02-28 01:45:27 +08:00
82 lines
2.5 KiB
Markdown
82 lines
2.5 KiB
Markdown
|
|
# Usage
|
||
|
|
|
||
|
|
## Scripted install
|
||
|
|
|
||
|
|
If you have a blank VPS and a free domain name that you can point to that VPS than you can try out the scripted all-included install
|
||
|
|
|
||
|
|
[Installation instructions](https://github.com/nodemailer/wildduck/tree/master/setup)
|
||
|
|
|
||
|
|
Install script installs and configures all required dependencies and services, including Let's Encrypt based certs, to run WildDuck as a mail server.
|
||
|
|
|
||
|
|
Tested on a 10\$ DigitalOcean Ubuntu 16.04 instance.
|
||
|
|
|
||
|
|

|
||
|
|
|
||
|
|
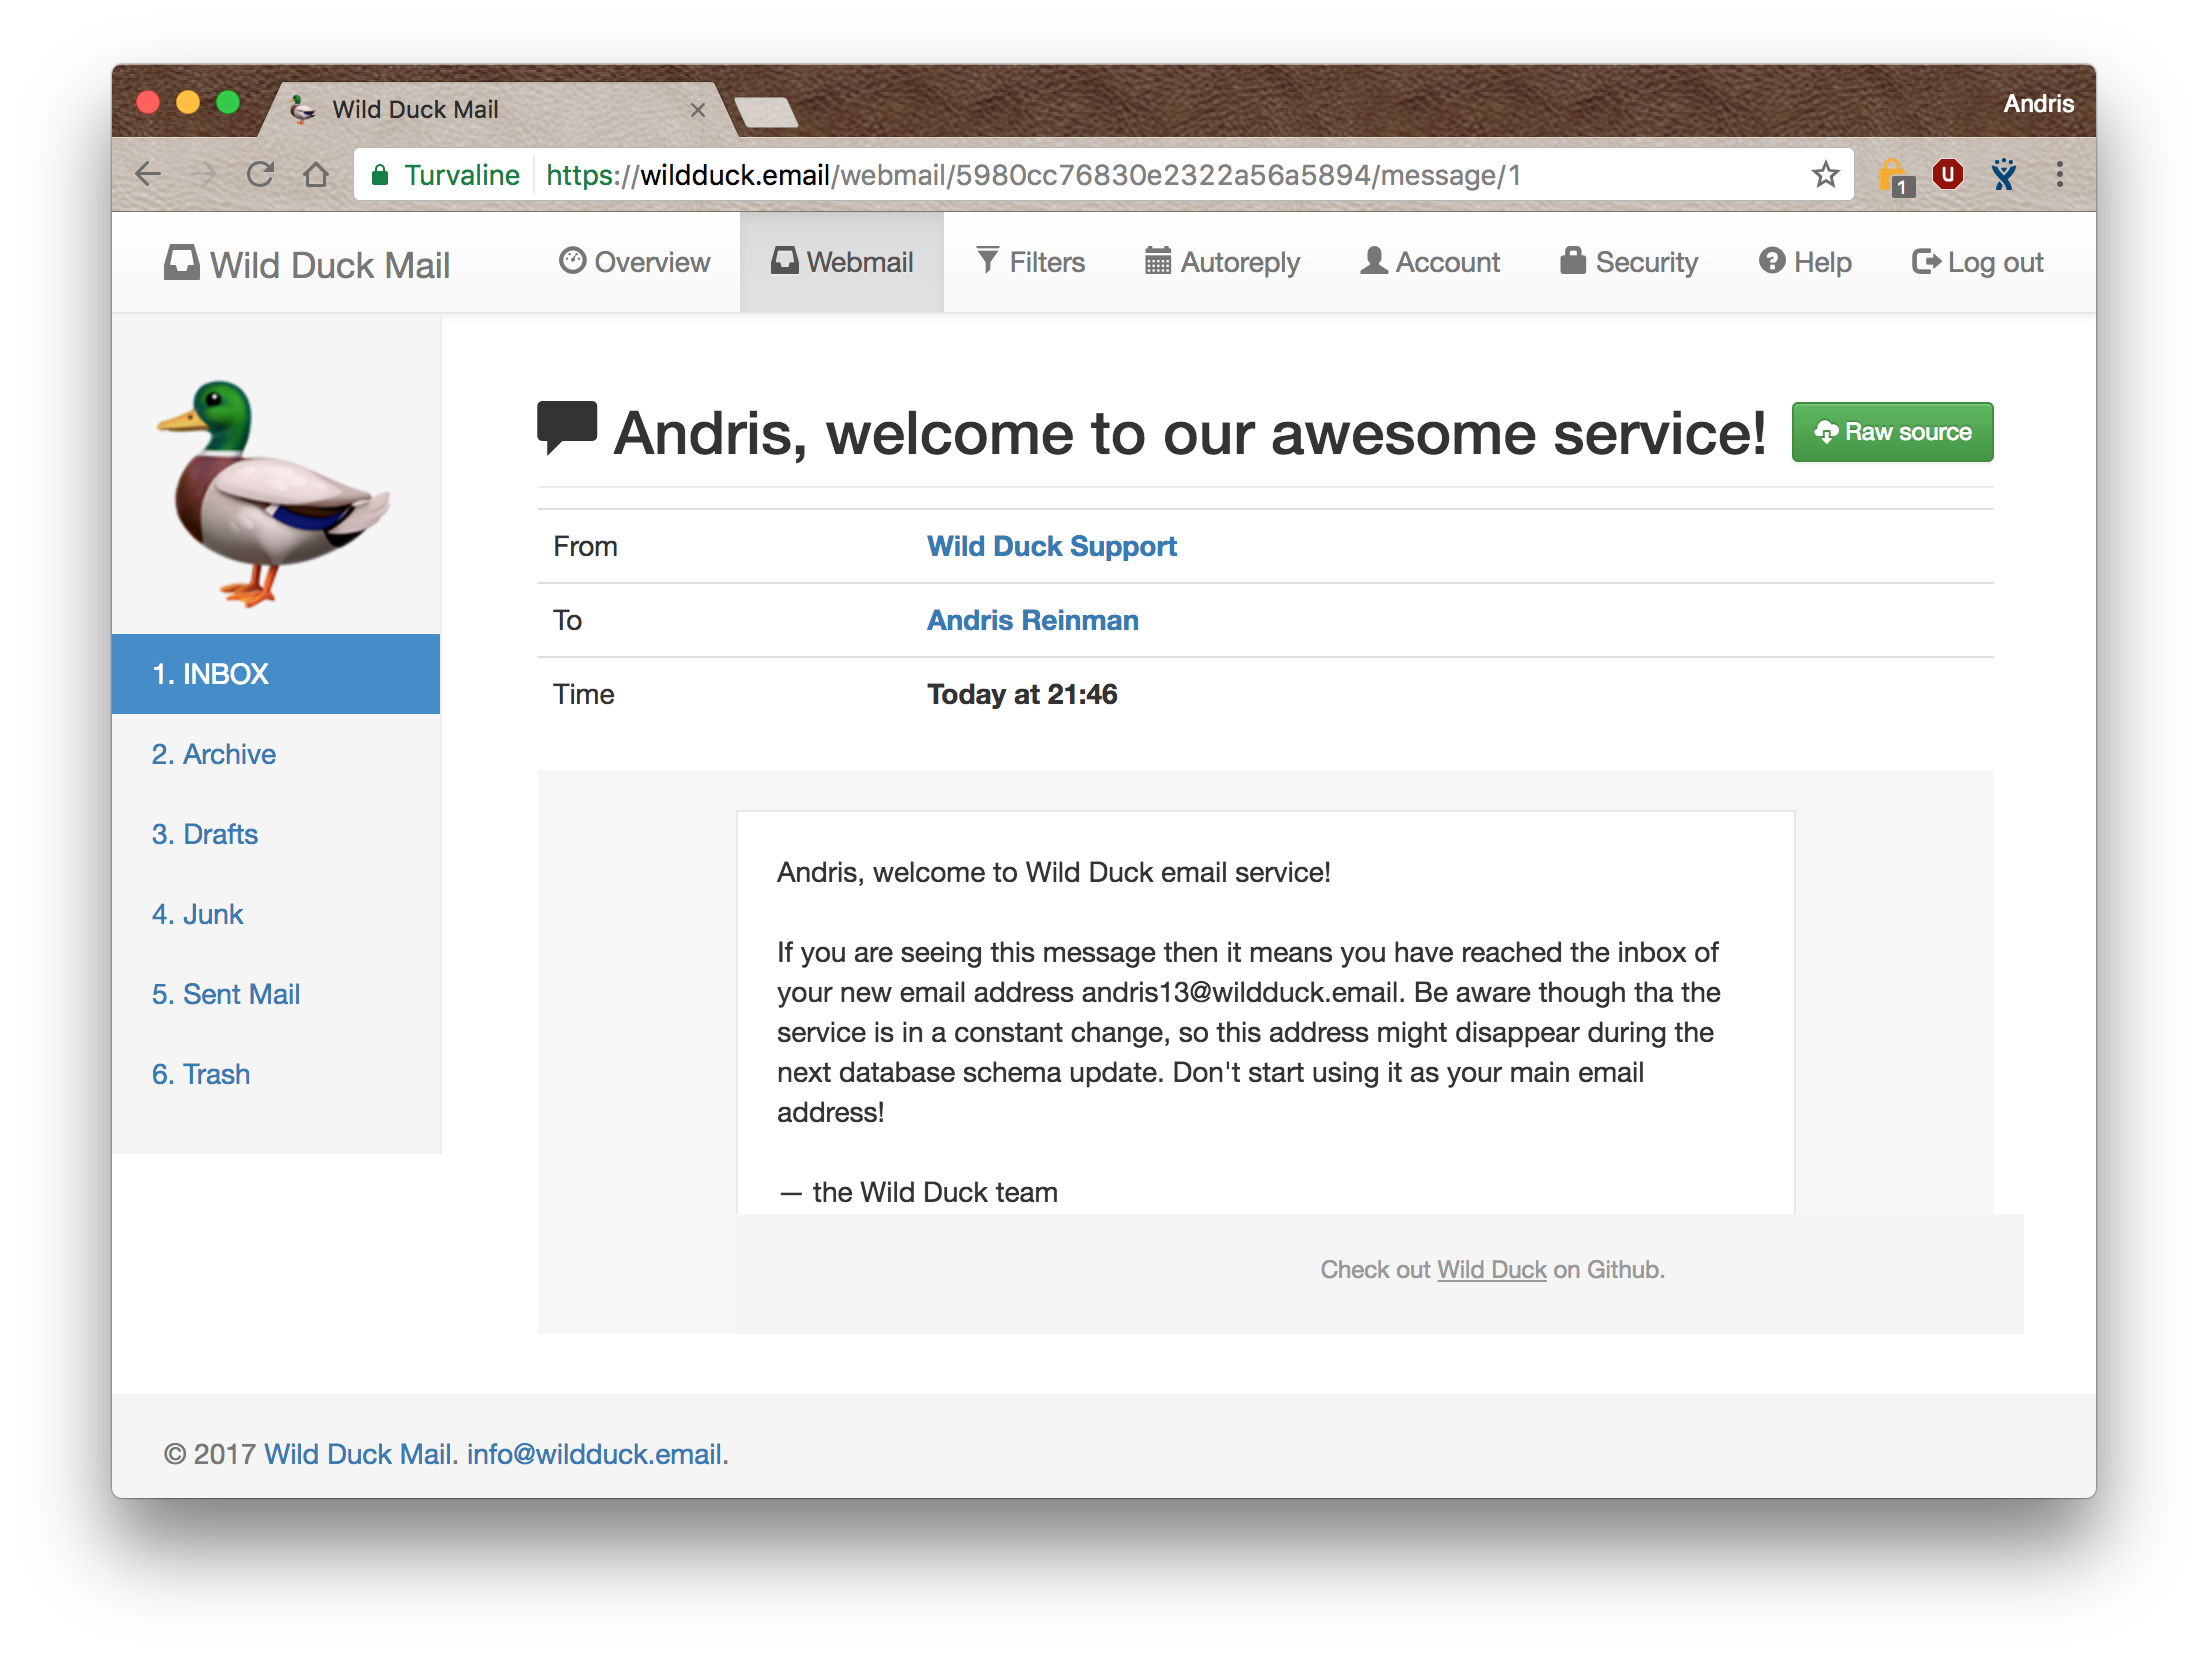
- Web interface at https://wildduck.email that uses WildDuck API
|
||
|
|
|
||
|
|
## Manual install
|
||
|
|
|
||
|
|
Assuming you have MongoDB and Redis running somewhere.
|
||
|
|
|
||
|
|
### Step 1\. Get the code from github
|
||
|
|
|
||
|
|
```
|
||
|
|
$ git clone git://github.com/nodemailer/wildduck.git
|
||
|
|
$ cd wildduck
|
||
|
|
```
|
||
|
|
|
||
|
|
### Step 2\. Install dependencies
|
||
|
|
|
||
|
|
Install dependencies from npm
|
||
|
|
|
||
|
|
```
|
||
|
|
$ npm install --production
|
||
|
|
```
|
||
|
|
|
||
|
|
### Step 3\. Run the server
|
||
|
|
|
||
|
|
To use the [default config](https://github.com/nodemailer/wildduck/blob/master/config/default.toml) file, run the following:
|
||
|
|
|
||
|
|
```
|
||
|
|
node server.js
|
||
|
|
```
|
||
|
|
|
||
|
|
Or if you want to override default configuration options with your own, run the following (custom config file is merged with the default, so specify only these
|
||
|
|
values that you want to change):
|
||
|
|
|
||
|
|
```
|
||
|
|
node server.js --config=/etc/wildduck.toml
|
||
|
|
```
|
||
|
|
|
||
|
|
> For additional config options, see the _wild-config_ [documentation](https://github.com/nodemailer/wild-config).
|
||
|
|
|
||
|
|
### Step 4\. Create a user account
|
||
|
|
|
||
|
|
See [API Docs](https://docs.wildduck.email/api/#api-Users-PostUser) for details about creating new user accounts
|
||
|
|
|
||
|
|
### Step 5\. Use an IMAP/POP3 client to log in
|
||
|
|
|
||
|
|
Any IMAP or POP3 client will do. Use the credentials from step 4\. to log in.
|
||
|
|
|
||
|
|
## Docker Install
|
||
|
|
The easiest way to setup wildduck with a docker image is given below, for more documentation about configuration options in the docker image, refer to
|
||
|
|
the [in-depth page on the Docker](in-depth/docker.md).
|
||
|
|
|
||
|
|
|
||
|
|
A docker hub image built using the [Dockerfile](https://github.com/nodemailer/wildduck/blob/master/Dockerfile) in the repo is also available
|
||
|
|
|
||
|
|
To pull the latest pre-built image of wildduck:
|
||
|
|
|
||
|
|
```
|
||
|
|
docker pull nodemailer/wildduck
|
||
|
|
```
|
||
|
|
|
||
|
|
It is also possible to pull a specific version of wildduck by specifying the version as the image tag.
|
||
|
|
(example, for version 1.20):
|
||
|
|
```
|
||
|
|
docker pull nodemailer/wildduck:1.20
|
||
|
|
```
|
||
|
|
To run the docker image using the [default config](https://github.com/nodemailer/wildduck/blob/master/config/default.toml), and `mongodb` and `redis` from the host machine, use:
|
||
|
|
```
|
||
|
|
docker run --network=host nodemailer/wildduck
|
||
|
|
```
|