2.5 KiB
Usage
Scripted install
If you have a blank VPS and a free domain name that you can point to that VPS than you can try out the scripted all-included install
Install script installs and configures all required dependencies and services, including Let's Encrypt based certs, to run WildDuck as a mail server.
Tested on a 10$ DigitalOcean Ubuntu 16.04 instance.
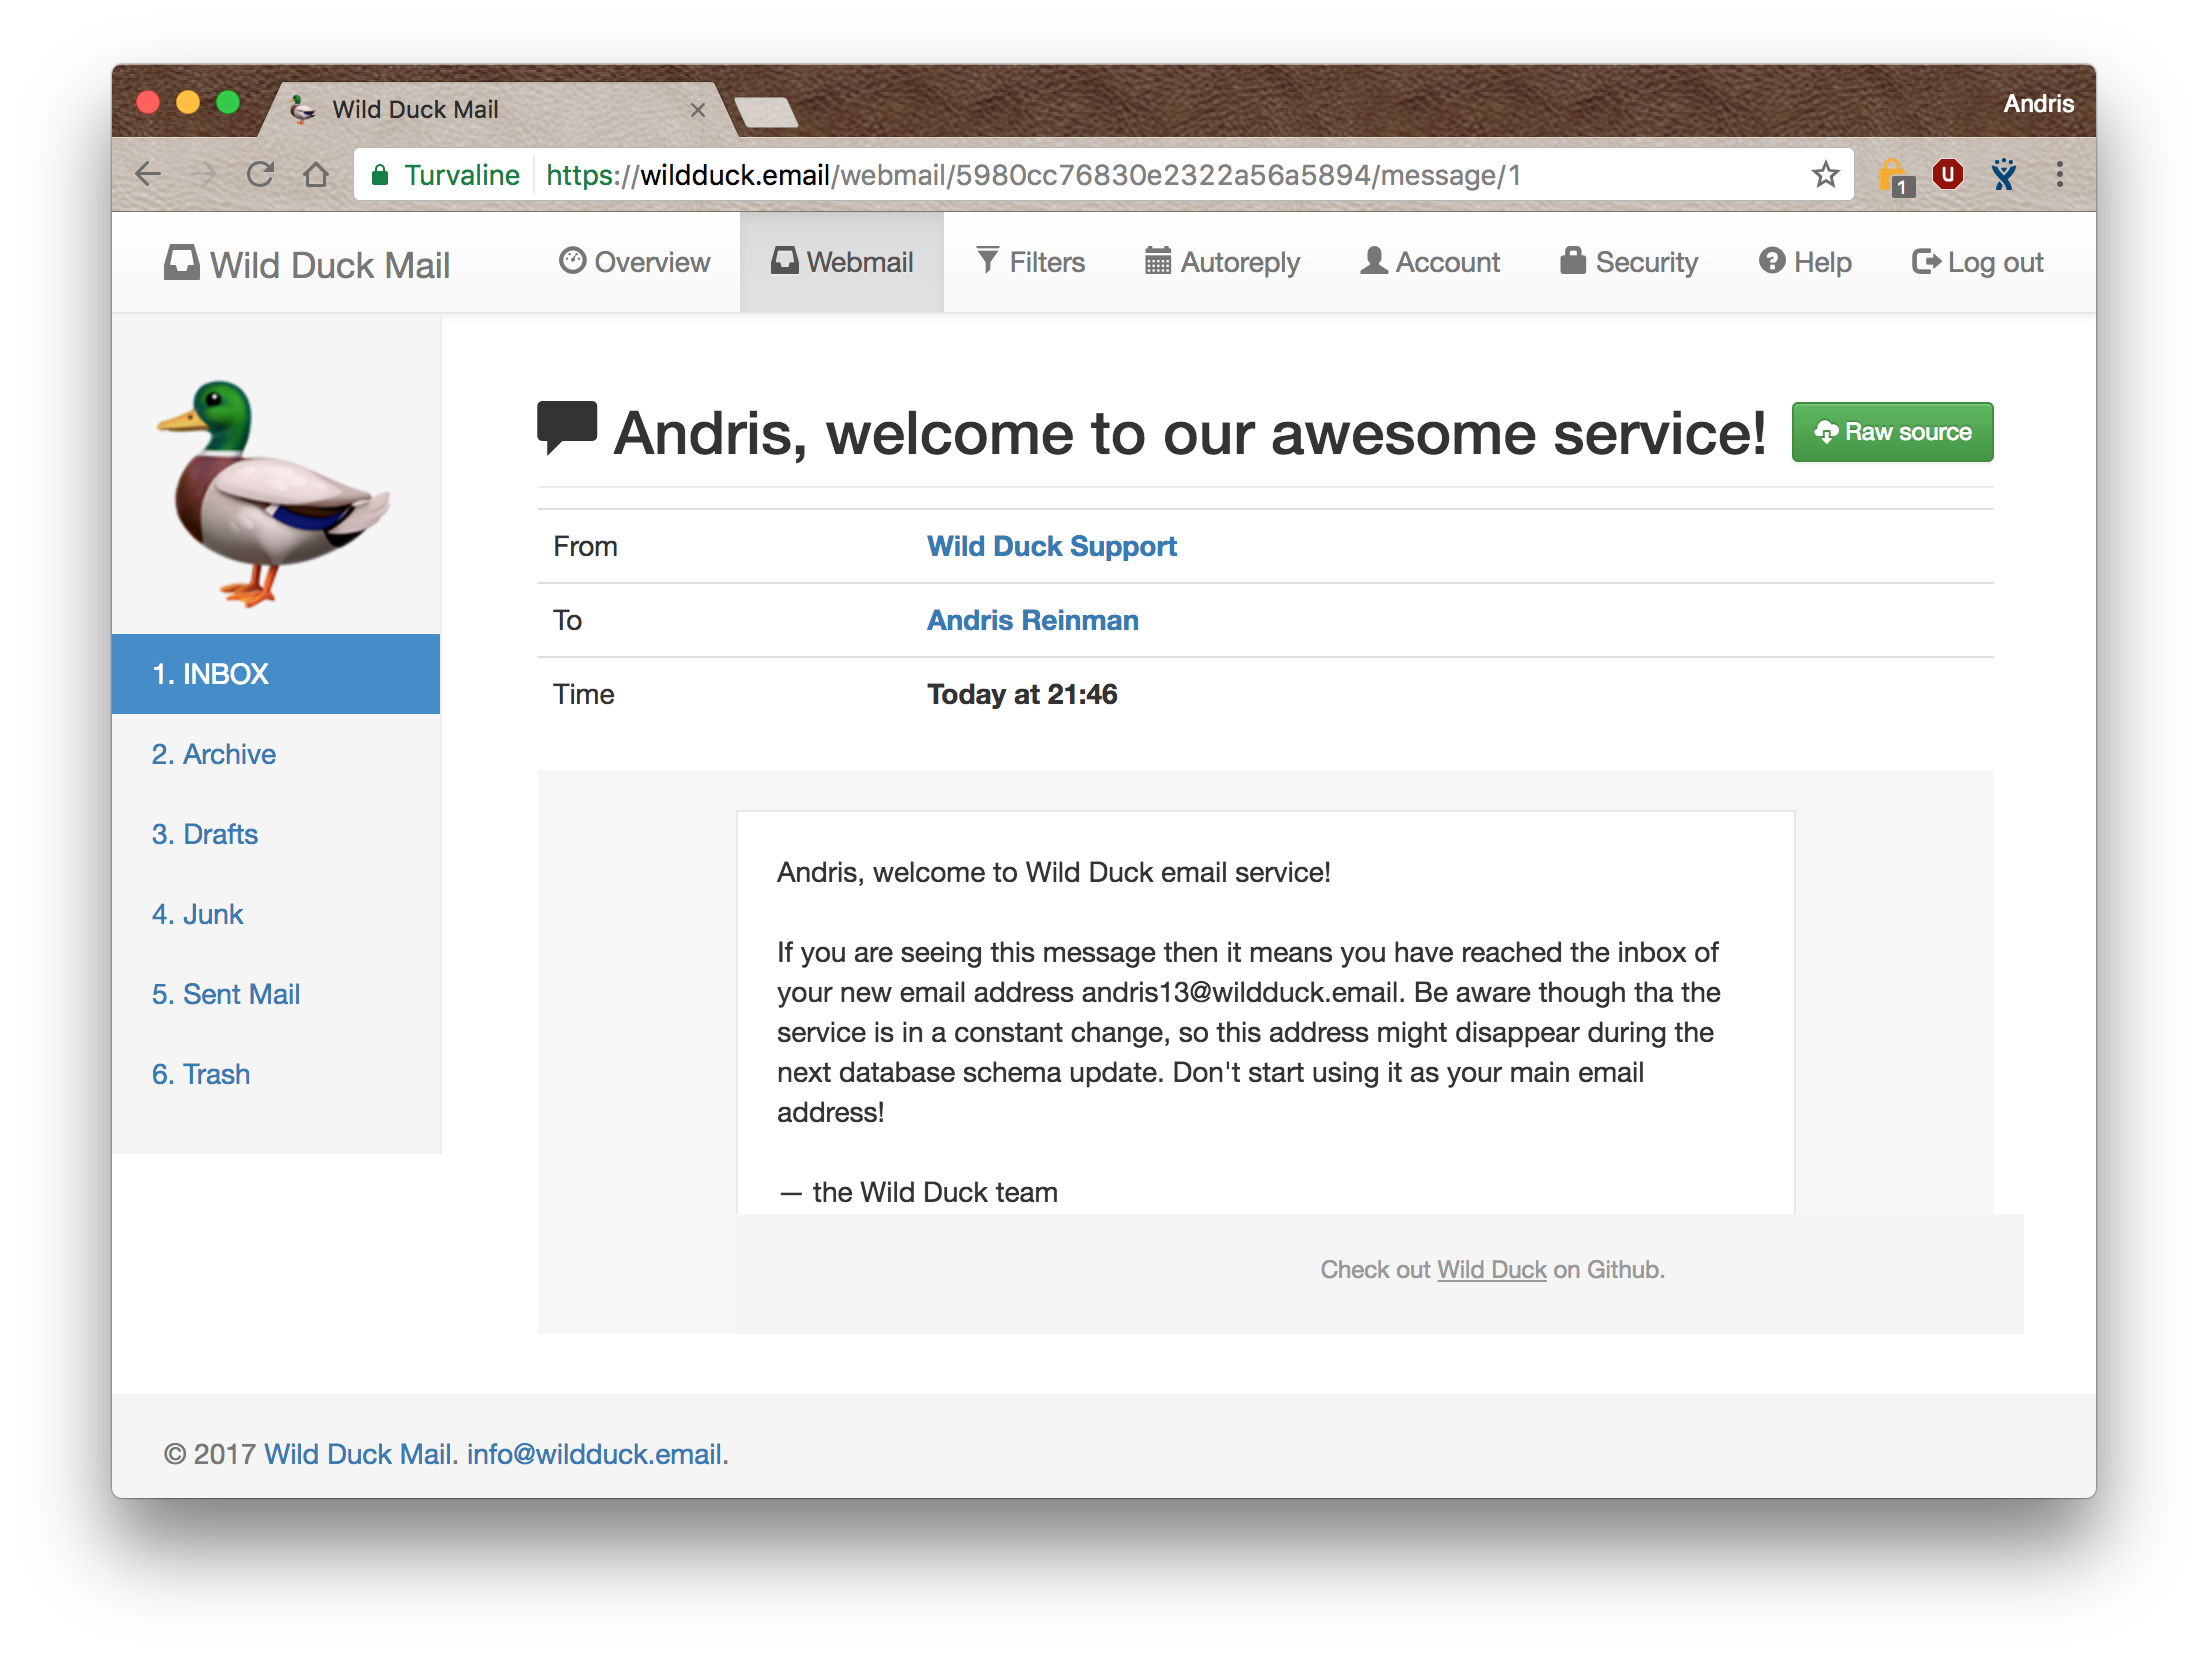
- Web interface at https://wildduck.email that uses WildDuck API
Manual install
Assuming you have MongoDB and Redis running somewhere.
Step 1. Get the code from github
$ git clone git://github.com/nodemailer/wildduck.git
$ cd wildduck
Step 2. Install dependencies
Install dependencies from npm
$ npm install --production
Step 3. Run the server
To use the default config file, run the following:
node server.js
Or if you want to override default configuration options with your own, run the following (custom config file is merged with the default, so specify only these values that you want to change):
node server.js --config=/etc/wildduck.toml
For additional config options, see the wild-config documentation.
Step 4. Create a user account
See API Docs for details about creating new user accounts
Step 5. Use an IMAP/POP3 client to log in
Any IMAP or POP3 client will do. Use the credentials from step 4. to log in.
Docker Install
The easiest way to setup wildduck with a docker image is given below, for more documentation about configuration options in the docker image, refer to the in-depth page on the Docker.
A docker hub image built using the Dockerfile in the repo is also available
To pull the latest pre-built image of wildduck:
docker pull nodemailer/wildduck
It is also possible to pull a specific version of wildduck by specifying the version as the image tag. (example, for version 1.20):
docker pull nodemailer/wildduck:1.20
To run the docker image using the default config, and mongodb and redis from the host machine, use:
docker run --network=host nodemailer/wildduck
